
If you are used to retouching your own images but need to send your next job on to a retoucher, or perhaps you are going to be working with a new retoucher, you may be wondering if there is a procedure to follow or things you can do to make everything go smoothly.
Here are a few things to consider to make your retouchers happy. (Retouchers, why not add these to your client on-boarding process?!)
First contact
Give us a call!
Or send an email, though I much prefer a phone call to set off a new relationship with clients and creative partners, I understand an email can often be a good first point of contact.
Don’t just send over all of your RAWs unannounced and hope for something back, you’ll be disappointed when your deadline comes around and nothing has been done!
In your message discuss the scope of the project (how many shots, style of work, deadlines, budget etc) and book the work in.
Once everything is confirmed, it’s time to send over files. I recommend using a service like WeTransfer (www.wetransfer.com) if the retoucher doesn’t ask you to use a specific file hosting service or FTP.
Production notes
When sending over your files, include any relevant production notes. This can include things like which shots to use, deadline dates and relevant contacts (if colleagues other than yourself need to be updated, ie publication editors, agents, agency reps.)
Mark ups
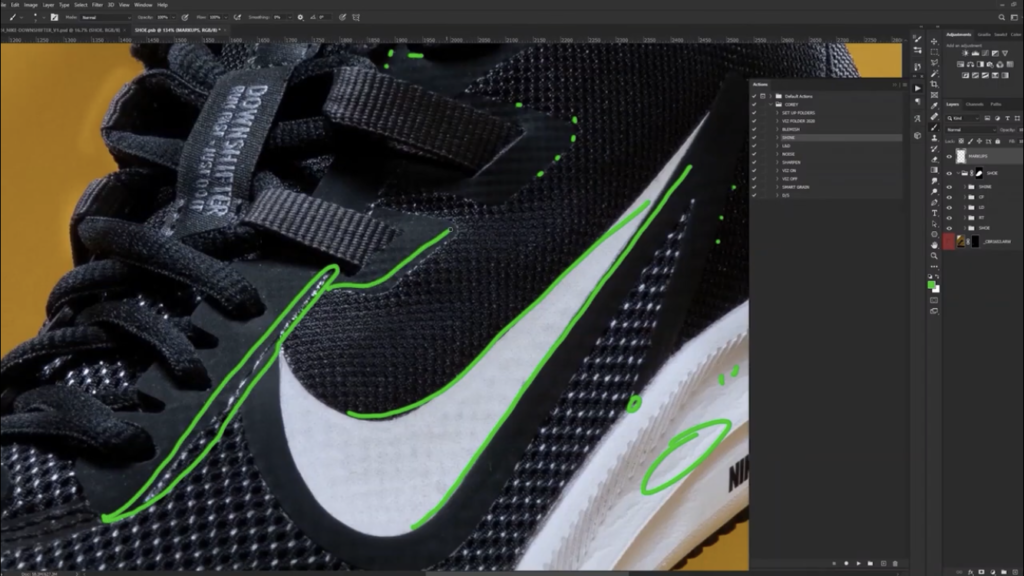
Send through roughly marked up images. You don’t need to go over the image with a fine toothed comb looking for dust, that’s our job, but include anything that you think of note. This could be parts that you want other shots composited in (include the shot number!) or edges that you want straightened.
Basically make simple visual notes on a hero image. Your retoucher will have this overlayed whilst working on your project, and serves as a reminder for your more detailed notes.
Reference imagery
If it’s one of your first projects with a retoucher, include any reference imagery you have for how you want the image to look. This will help especially in the colour grading process.
After a couple of jobs this usually isn’t necessary, as your retoucher will have a firm grasp on the style you prefer, but it takes the guesswork out of the early stages and saves time.
File naming & numbering
Where possible, be sure to name your shoots in a concise and relevant way. Use a project identifier for the first few letters, this could be your initials or related to the client. Follow this with a sequential number. Make a note of which shots are for which parts of the image, you can add this to the end of the name of you wish.
For example, when sending over your notes, it may look something like this:
CBR_100 – Grey card
CBR_101 – Hero shot
CBR_110 – highlight left bottle
Again, this takes the guesswork out of a project and allows us to work more efficiently.
Grey cards
Speaking of grey cards, include your grey card shot! If you aren’t working with a grey card, I would highly recommend investing in one.
These Datacolour charts are widely used:
Print specifications
Let us know the intended use of your work. Is it for web? Magazine print? Billboards? These all affect the colour spaces we work in and the file outputs we will send on to you. Ask your printers for specs if you are unsure, they won’t mind! It helps everyone if we’re all on the same page.
Give honest feedback
Don’t be afraid to say how you really feel when you see the first round of work done, this is your project after all! Give good, constructive feedback and be sure to explain where you feel any changes need to be made. Remember that contracts often only stipulate a certain number of rounds of amendments, so be thorough (but fair!)
At the end of the day, everyone wants the work to look it’s best, so work with your retoucher.
So that’s a few ways to make working with your retoucher that bit smoother. As one of my old teachers used to say, remember the “6 P’s”, Prior Planning Prevents P**s Poor Performance, when everything and everyone is well prepared at the start of a project, things are much more likely to go by without a hitch.
Happy days.


